Step-by-Step Drywall Ceiling Repair: Pro Techniques Revealed
The need for a drywall ceiling repair often comes unannounced, turning what was once a flawless surface into an unsightly scene marked by cracks, holes, or water damage. It's an issue that, if left unattended, can evolve from a minor eyesore into a major headache, potentially compromising the integrity of your home. But fear not, because mastering the art of "Drywall Ceiling Repair" is an achievable feat, and this comprehensive guide is here to unveil the step-by-step process and professional techniques that are often kept under wraps.
By the end of this read, you’ll not only understand the importance of timely drywall ceiling repair but also be equipped with the knowledge to tackle the task yourself, employing methods that seasoned pros use. Whether you're dealing with minor blemishes or significant damage, these insights will ensure your ceiling is returned to its former glory efficiently and effectively.
Step 1: Assess the Damage
Before any successful drywall ceiling repair can commence, a thorough assessment of the extent and type of damage is crucial. This step is about more than just a quick glance; it involves a detailed inspection to determine the severity of the damage and the underlying causes. Here are specific types of damages you might encounter:
- Cracks:
These can be small, hairline fractures or larger, more concerning splits in the
drywall. They often result from structural settling or environmental conditions like humidity and temperature changes. The direction and location of the crack can also indicate different issues. For instance, cracks running across the ceiling at the seam between sheets of drywall may suggest an issue with the joint tape.
- Holes:
These range from small punctures, perhaps caused by accidents or hardware installation, to larger gaps resulting from severe impacts or water damage. The repair approach varies significantly based on the size of the hole.
- Water Damage:
Staining, sagging, or swollen areas indicate water damage. This is the most urgent type of damage to assess because it can lead to structural issues and mold growth. It's critical to locate and repair the source of the water leak before beginning the drywall repair.
- Cosmetic Flaws: These include minor imperfections like nail pops, dents, or scrapes. They're usually the easiest to fix but can become more noticeable over time if not addressed.
Each type of damage will require different materials and strategies for repair, making this assessment stage critical. Additionally, if the damage is extensive or you suspect structural issues, it's wise to consult a professional before proceeding with the DIY repair.
Step 2: Gather Your Tools and Materials
Having the right tools and materials is paramount for a professional-standard drywall ceiling repair. Here’s a more detailed breakdown of what you need and why:
- Safety Glasses and Dust Mask: Drywall repair can produce dust and debris. Safety glasses protect your eyes, and a dust mask prevents inhalation of harmful particles.
- Ladder:
A stable, sturdy ladder is necessary to safely reach your ceiling. Ensure it's the right height and balanced before climbing.
- Drywall Saw: This tool is designed to precisely cut through drywall. Its pointed tip can initiate the cut, and the serrated edge smoothly saws through the material, ideal for removing damaged sections.
- Joint Compound: Also known as "mud," this material helps cover seams and repair defects in drywall. It's available in various setting times and types, so be sure to choose one that suits your skill level and project needs.
- Drywall Tape: This helps reinforce the joints between drywall sheets. There are two main types: paper tape, which requires an application of joint compound before use, and self-adhesive mesh tape.
- Drywall:
For larger repairs, new drywall will be necessary to patch the hole. It comes in various thicknesses, so be sure to match the new piece to your existing ceiling's thickness.
- Sandpaper or Sanding Sponge: These are used for smoothing the joint compound after it dries. A range of grits allows for everything from rough shaping to fine finishing.
- Putty Knife:
Available in various widths, a putty knife is essential for applying and smoothing joint compound. A wider knife is ideal for feathering and creating a smooth finish.
- Mud Pan:
This is a flat tray that holds your joint compound during application. It's especially useful when working on a ladder because it's portable and easy to handle.
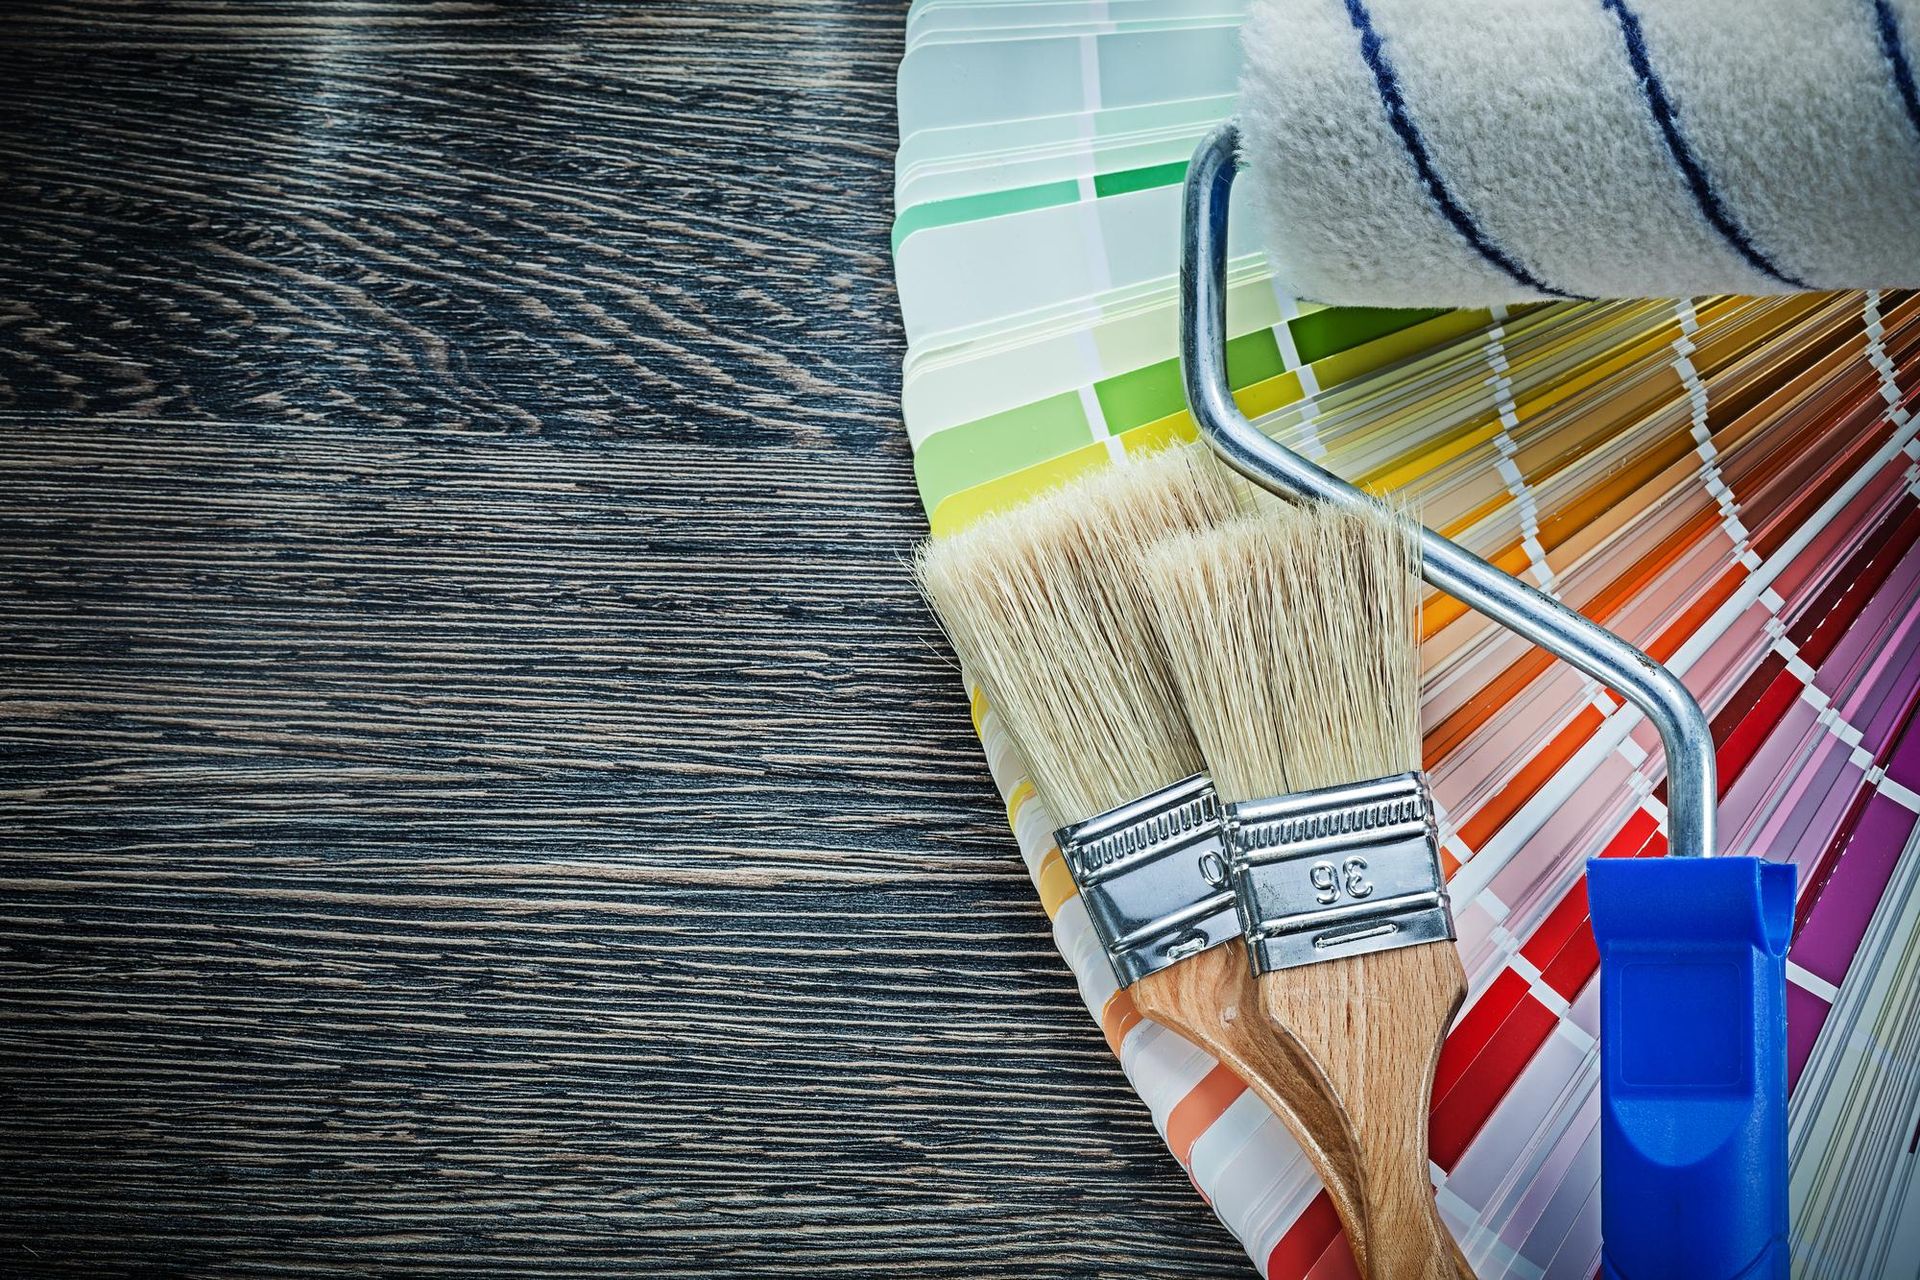
- Primer and Paint: Primer seals the mud and ensures an even base for paint, preventing flashing or texture differences. The paint restores the ceiling’s look. Always choose a high-quality ceiling paint that matches the existing color and finish.
Preparing with the proper tools and materials streamlines the repair process, prevents unnecessary trips to the store, and sets you up for a successful, professional-standard drywall ceiling repair.
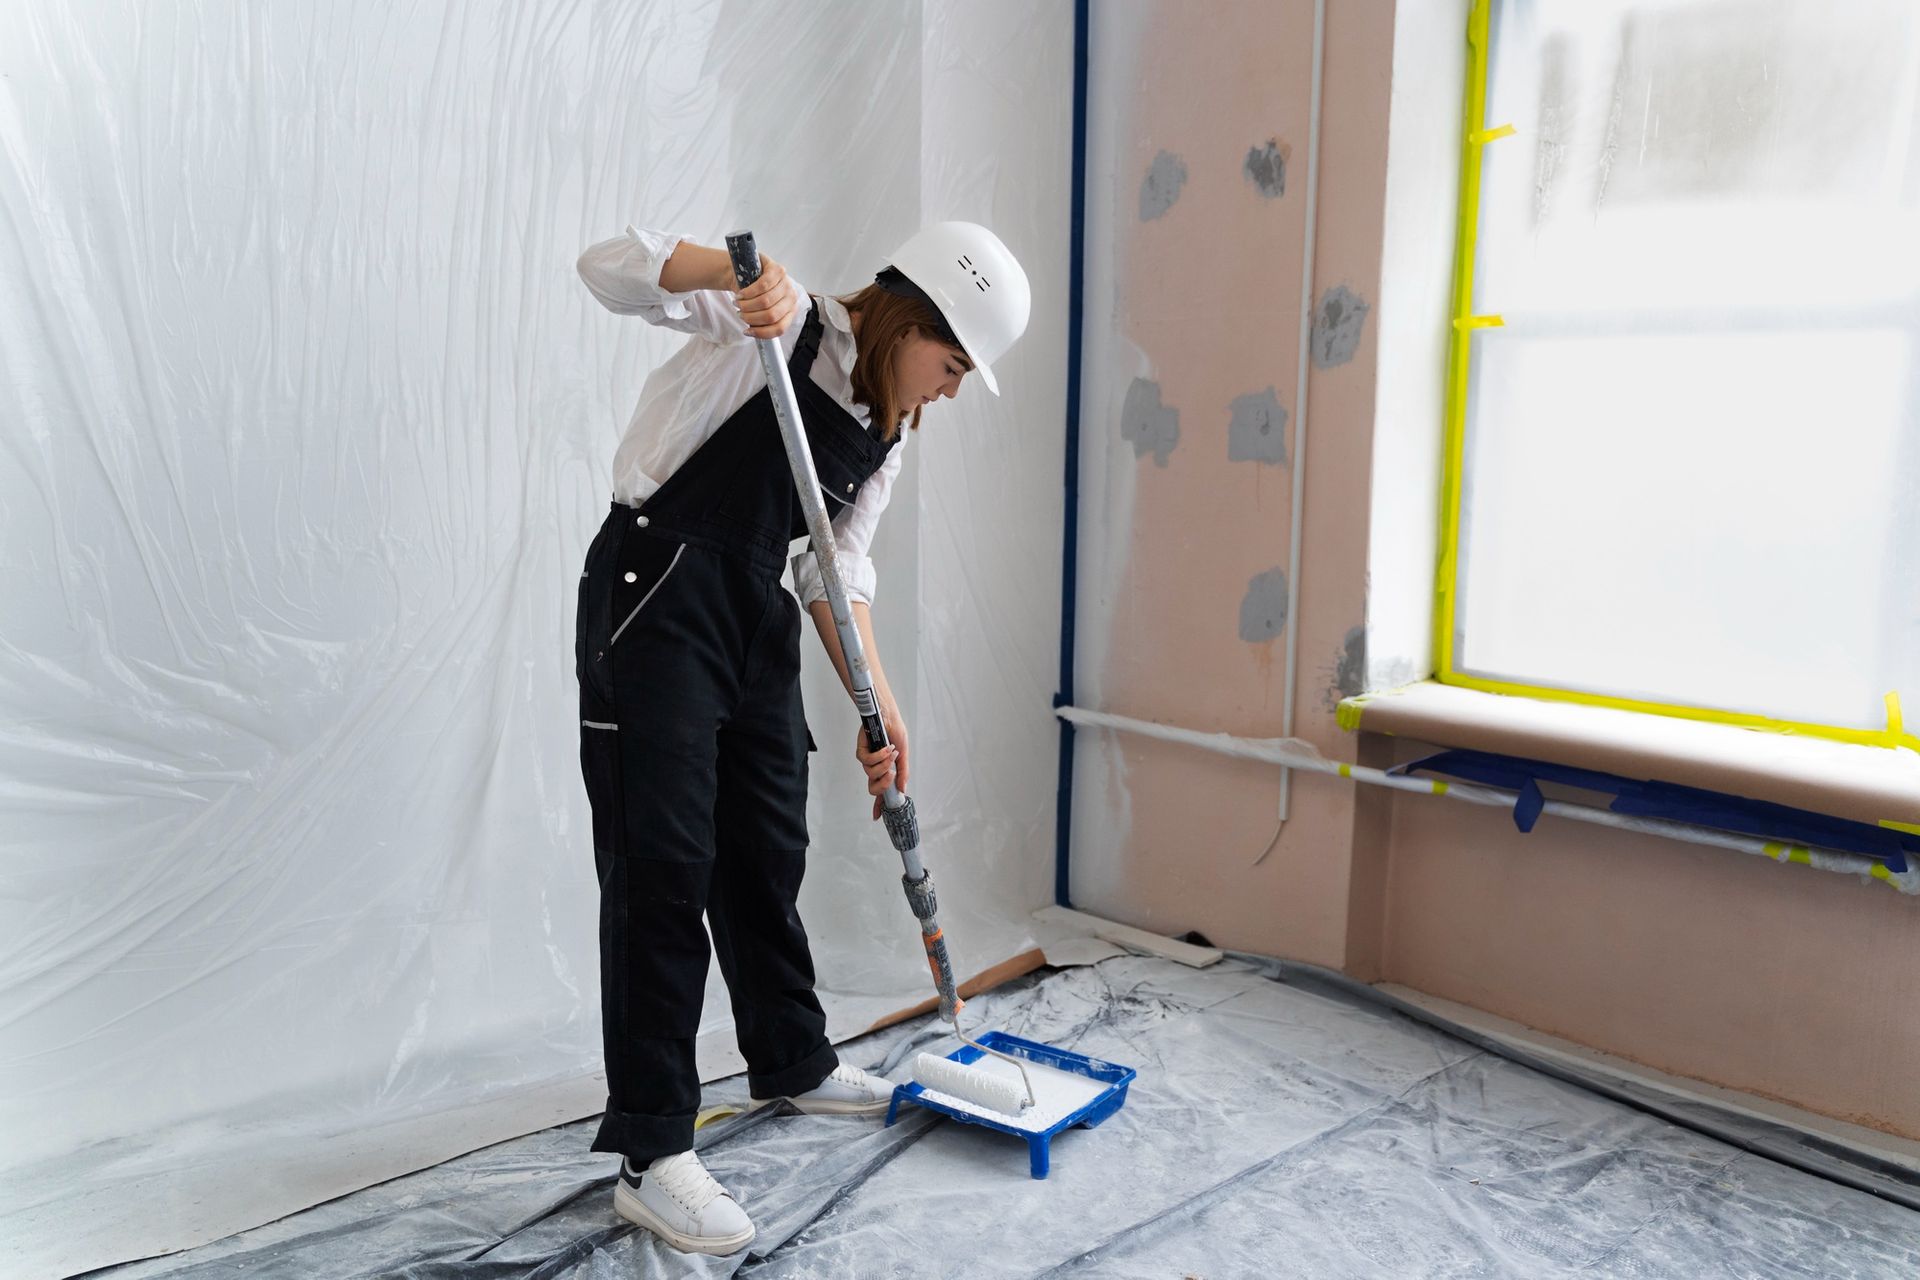
Step 3: Prepare the Area
Proper preparation sets the groundwork for a clean, efficient repair job. This step is about safeguarding your interiors and creating a suitable work environment.
- Clear the Room: Remove furniture, rugs, and other items from the area to protect them from dust and debris. If you can't remove large furniture pieces, cover them with plastic sheeting or a heavy-duty cloth. Ensure the pathway to your work area is clear to prevent accidents.
- Protect the Floor: Use drop cloths or heavy-duty plastic sheeting to cover the floor. Secure the covers in place with tape to prevent them from shifting. This protection will save you from potential stains and damage caused by falling debris or spilling materials.
- Remove Fixtures:
Take down light fixtures, ceiling fans, or decorative elements attached to or near the repair area. This step prevents damage to these items and ensures they won't interfere with your repair.
- Set Up Your Ladder:
Ensure your ladder is tall enough for you to reach the ceiling comfortably without standing on the top rung. Place it on a flat, stable surface, and if possible, have someone spot you by holding the ladder at the base for added safety.
- Safety Gear: Don't overlook personal safety. Wear safety glasses to protect your eyes from dust and debris, and use a dust mask or a respirator to prevent the inhalation of harmful particles. If the repair area is high, consider a hard hat to protect against falling debris.
Properly preparing your workspace not only facilitates a smoother repair process but also ensures your
safety and the protection of your home furnishings.
Step 4: Cut Out the Damaged Section
This step involves removing the damaged drywall with precision to set the stage for a seamless repair.
- Outline the Repair Area:
Use a carpenter's square or a straightedge to outline the section you'll cut out, ensuring the shape has straight sides (preferably a square or rectangle). This makes the patching process more straightforward.
- Score the Drywall:
With a utility knife, gently score along the outline. This creates a cleaner edge when you cut through the drywall.
- Cut and Remove Damaged Drywall:
Using a drywall saw, start cutting at the corners or along the edges you've scored. Apply enough pressure to cut through the drywall, but be cautious not to damage any pipes or wires behind it. Remove the damaged section and dispose of it safely.
- Inspect and Prepare the Cavity: Look inside the hole for any hidden damage, especially signs of moisture, mold, or damaged wiring. Address these issues before proceeding. If necessary, vacuum the cavity to remove dust and debris.
Cutting with precision and ensuring the area behind the drywall is in good condition are critical factors in a professional-quality drywall ceiling repair.
Step 5: Secure Backing and Attach New Drywall
Installing a sturdy backing and a well-measured drywall patch are the core of this step.
- Measure and Cut Your Backing:
Using a piece of 2x4 wood longer than the hole, insert it into the cavity and position it so that half is behind the existing drywall, providing a backing to screw the new patch into. Secure the wood in place with screws driven through the existing drywall.
- Cut Your Drywall Patch: Measure the hole precisely and transfer these dimensions to a new piece of drywall. Use a utility knife to score the front side of the drywall and then snap it cleanly along the scored line. Trim the edges as needed.
- Attach the Drywall Patch: Place the cut drywall into the hole to ensure it fits perfectly. Then, secure the drywall patch to the backing and the surrounding drywall using drywall screws. The patch should sit flush with the surface of the surrounding ceiling.
- Ensure Stability: Gently push on the patch to ensure it's secure. If there's any movement, you may need additional screws to stabilize it.
Precision in cutting, fitting, and securing your drywall patch is key to a repair that looks as good as new and stands the test of time. This attention to detail is what separates a professional-quality repair from a quick fix.
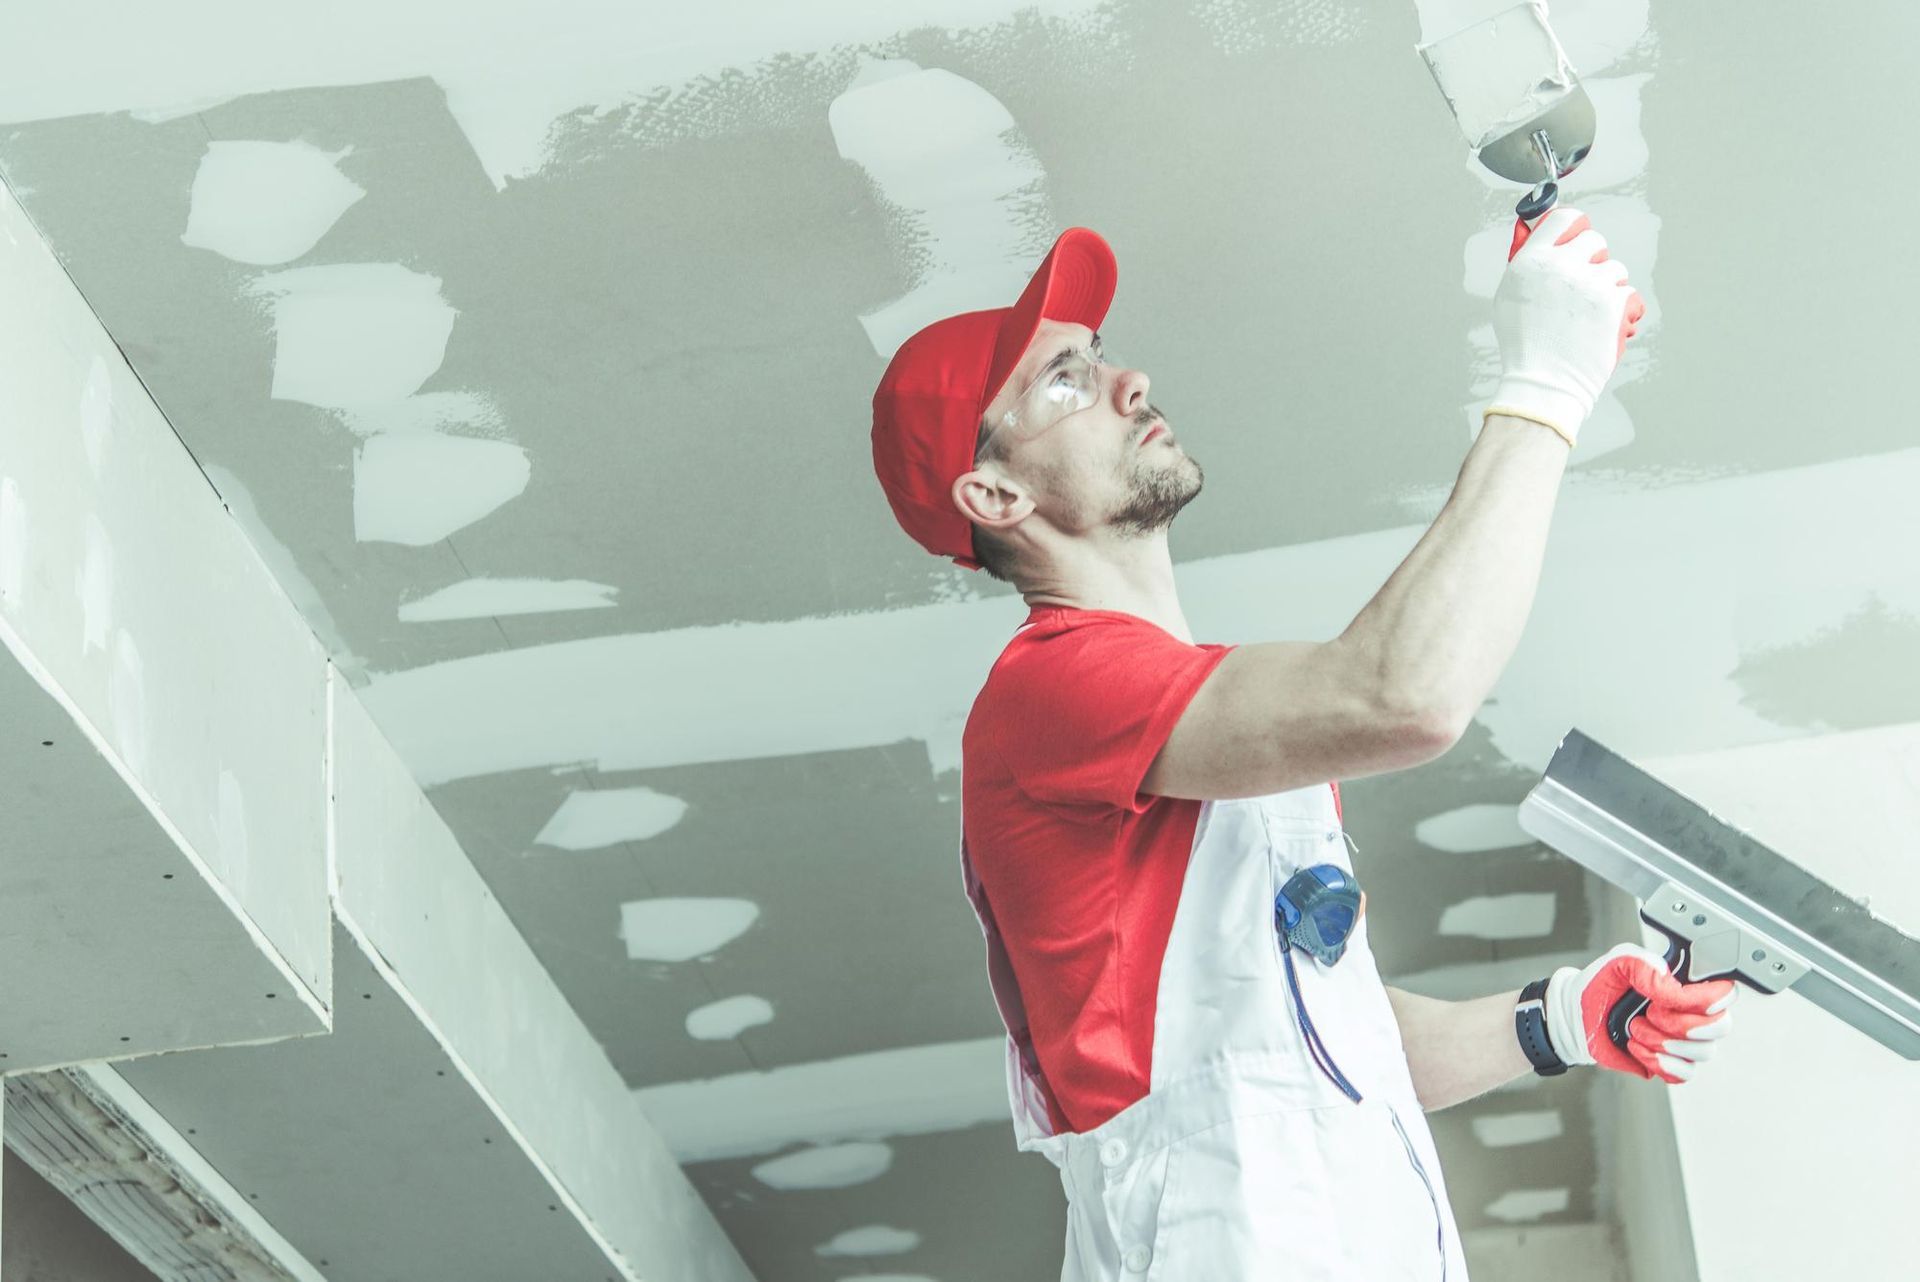
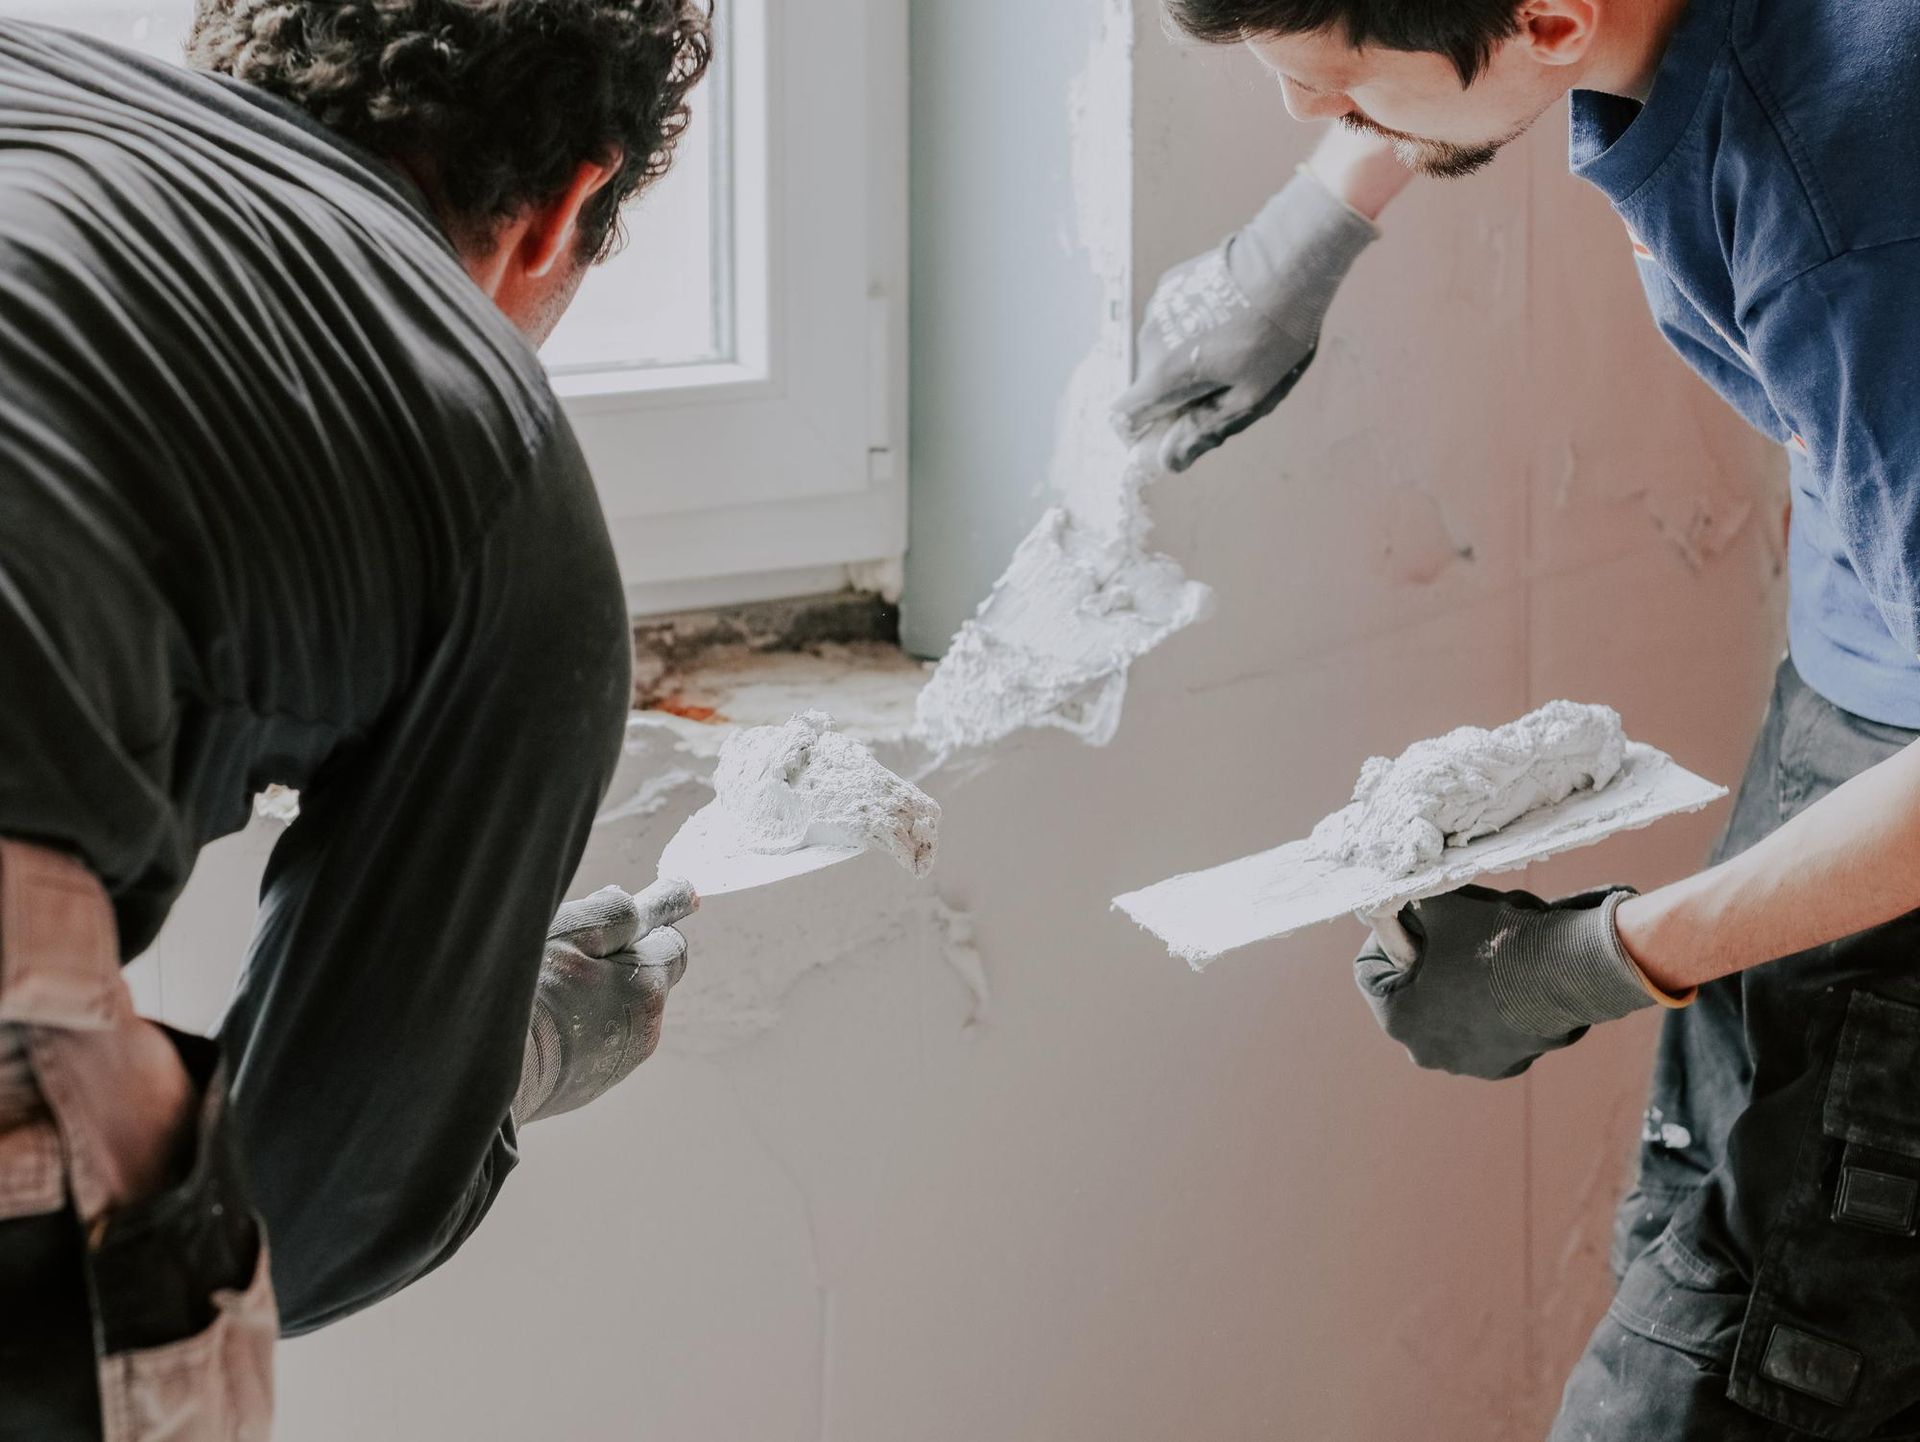
Step 6: Tape and Mud
This stage is crucial in the drywall ceiling repair process. Place drywall tape over the seams, then apply a thin layer of joint compound over the tape, extending a few inches on each side to ensure good adhesion. Allow the compound to dry as recommended by the manufacturer, then apply a second, wider layer. This "feathering" technique creates a gradual slope to make the repair blend seamlessly with the rest of the ceiling. Depending on the depth, three or more layers may be necessary.
Step 7: Sand and Prime
Once the joint compound is completely dry, lightly sand the area to a smooth finish, being careful not to damage the surrounding ceiling. Wipe away any dust before proceeding. Next, apply a coat of primer to the repaired area. Priming is essential in drywall ceiling repair, as it seals the compound and prevents the newly repaired spots from showing through the final paint.
Step 8: Paint
After the primer has dried, it's time to paint. If you don’t have the original ceiling paint, you'll need to find a match. For best results, consider painting the entire ceiling to ensure uniform color and texture.
Conclusion
Drywall ceiling repair might seem daunting, but with the right tools, materials, and guidance, it’s a task that homeowners can confidently tackle. The satisfaction of restoring the smooth, intact surface of your ceiling is well worth the effort, not to mention the cost savings compared to hiring a professional. However, if you're in the Bakersfield, CA area and prefer a professional touch, or if the damage is too extensive, John Hernandez Painting is the go-to service provider for top-notch results. You can reach them at 661-565-1209 for expert advice or to schedule a service.
Regular inspection for signs of damage and timely repair can help maintain the structural integrity and aesthetic appeal of your home. With these pro techniques revealed, you're now ready to approach drywall ceiling repair with a craftsman's skill and the insider knowledge to achieve a seamless finish. Remember, the key lies in patience, attention to detail, and following the steps meticulously. Your ceiling, and home, deserve no less. Whether you decide to DIY or call in experts like John Hernandez Painting, your drywall ceiling is in good hands.

Working Hours
- Mon - Sat
- -
- Sunday
- Closed


